Rocky Rock Chocolate Bark
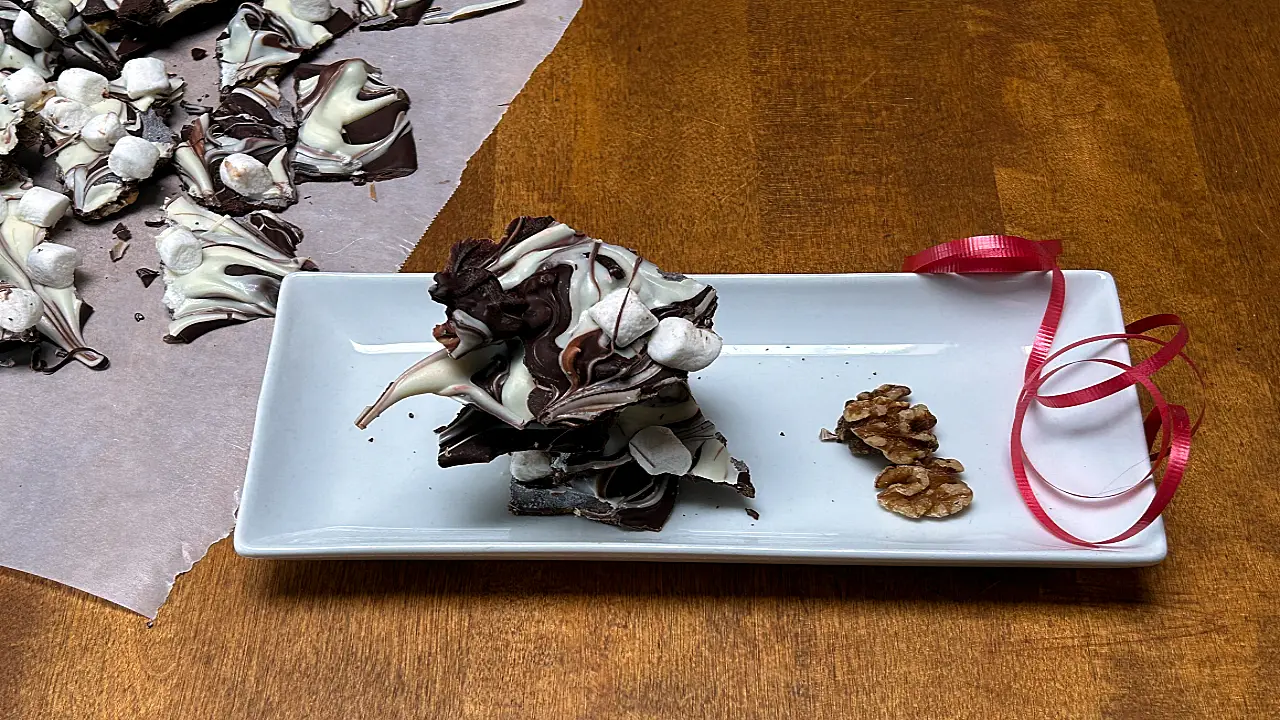
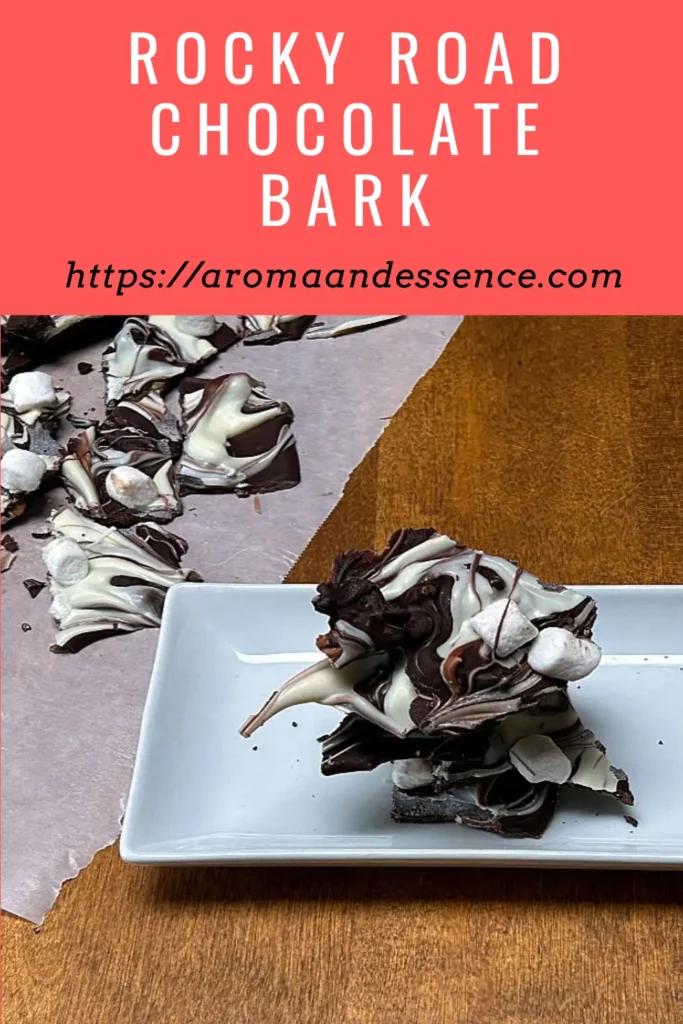
Looking to impress your friends or want a delicious snack for yourself, my Rocky Road Chocolate Bark recipe is sure to please everyone.
What’s not to love about rocky road chocolate bark? We all love it in our house. It’s a must-make during the Christmas season. It’s a great treat to share with and impress your friends and family. So easy to make and even easier to enjoy!
Ingredients for Rocky Road Chocolate Bark
Dark chocolate, white chocolate, nuts, and marshmallows. What fun ingredients to make a rocky road dessert!
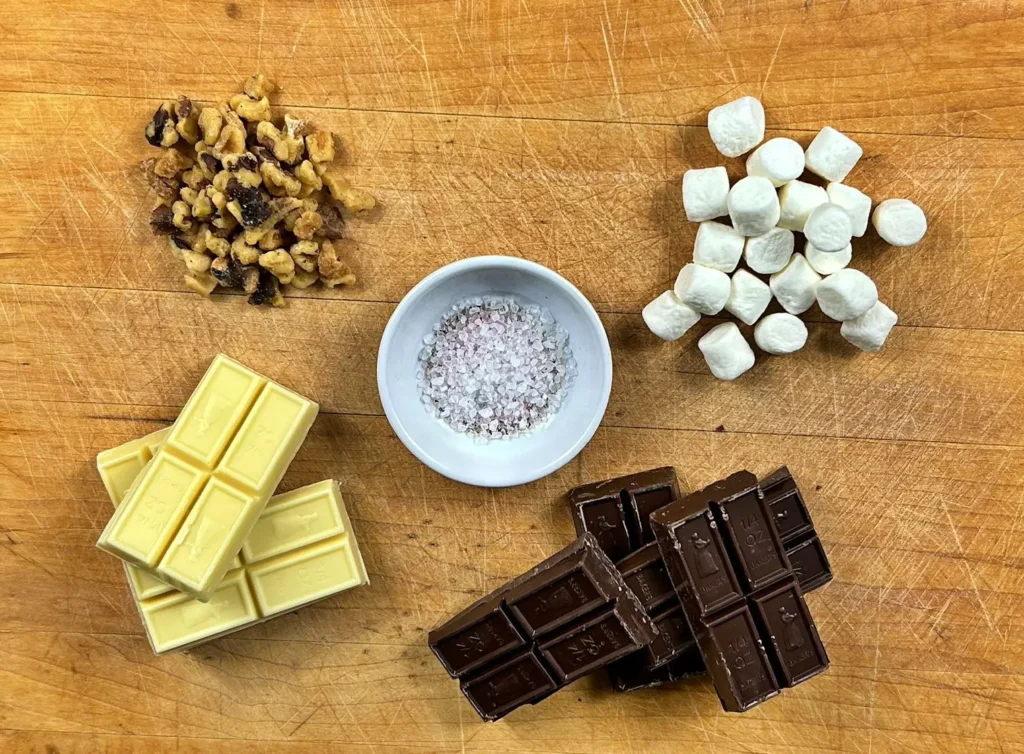
Ingredients list for Rocky Road Chocolate Bark
2 ounces (1 cup) of dark chocolate
1 ounce (1/2 cup) of white chocolate
3/4 cup toasted walnuts
1/2 cup of mini marshmallows
pinch of flaky salt
parchment paper for lining
More Dessert Ideas you will Like
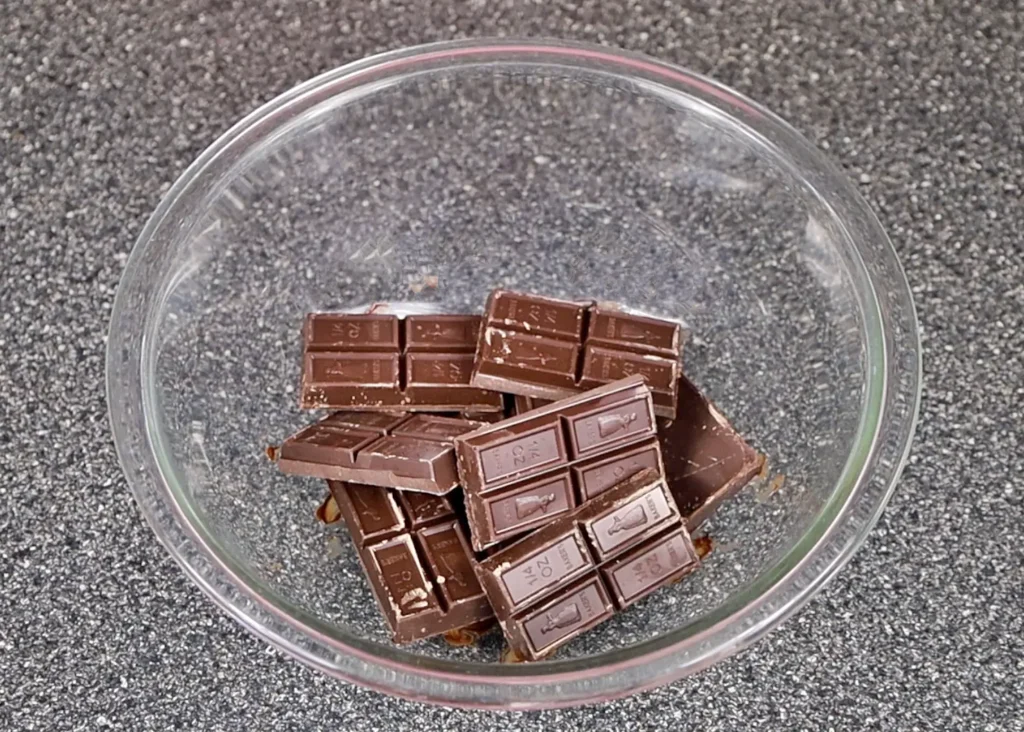
The Dark Chocolate
Let’s get started with the dark chocolate. You can use milk chocolate too, but I find a dark semi-sweet chocolate works best for this recipe.
- Add 2 ounces (1 cup) of chocolate to a bowl. I use baking chocolate, but you can use chocolate chips too.
- Melt the chocolate in a microwave or over a double boiler.
- If you use a microwave, the time will depend on each individual microwave, so go in 30 sec increments so as not to over do it.
- If using a double boiler, boil some water in a small pot – one that will allow the bowl to sit on it, but not sink into it. Once the water has boiled, place the bowl with the chocolate on it and let it sit for 10 seconds. Then stir and continue to stir until you have a smooth melted consistency.
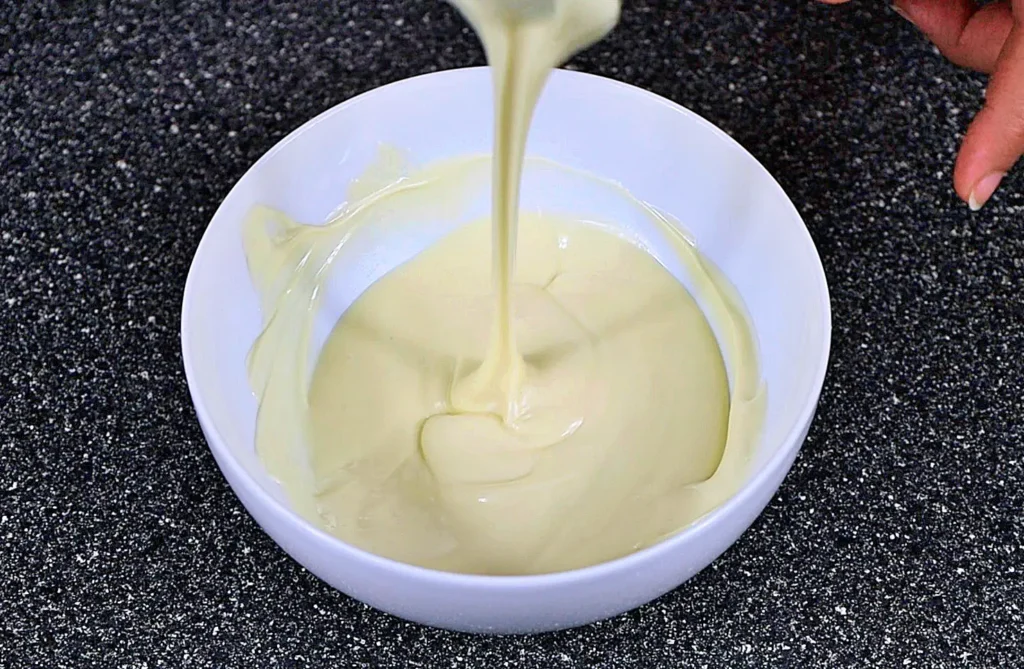
The White Chocolate
Now that we have the dark chocolate ready, we can move on to the white chocolate.
- In another smaller bowl, add 1 ounce (1/2 cup) of white chocolate. Once again, you can use baking chocolate or chocolate chips.
- Melt is in a similar fashion to the dark chocolate – in the microwave or double boiler.
- Make sure the chocolate is melted well and is smooth.
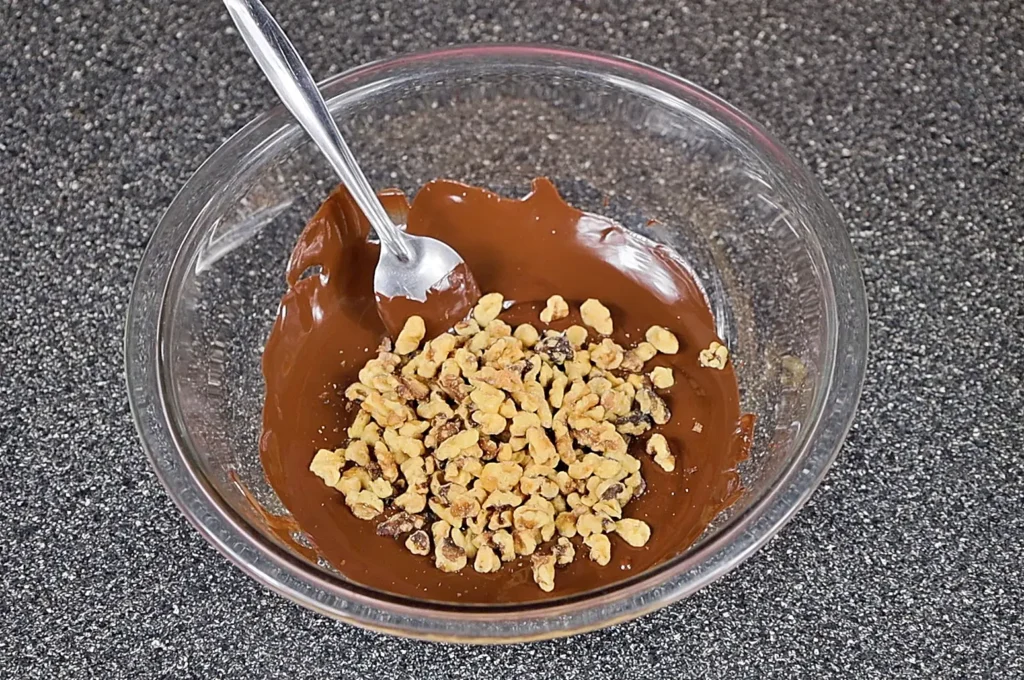
Adding the Nuts to the Rocky Road Chocolate Bark
Now that both our chocolates is melted, we can add the nuts to it.
- Add 3/4 cup of toasted walnuts to the melted dark chocolate and mix them in.
- Continue to mix until all the nuts are well coated.
- Do not take too long to do this as the chocolate will start to set as it cools.
The Layering of the Chocolates
We are now ready to create the bark.
- Line a baking tray or counter with parchment paper.
- Pour the dark chocolate with nuts onto the paper and spread it around until you have an even layer.
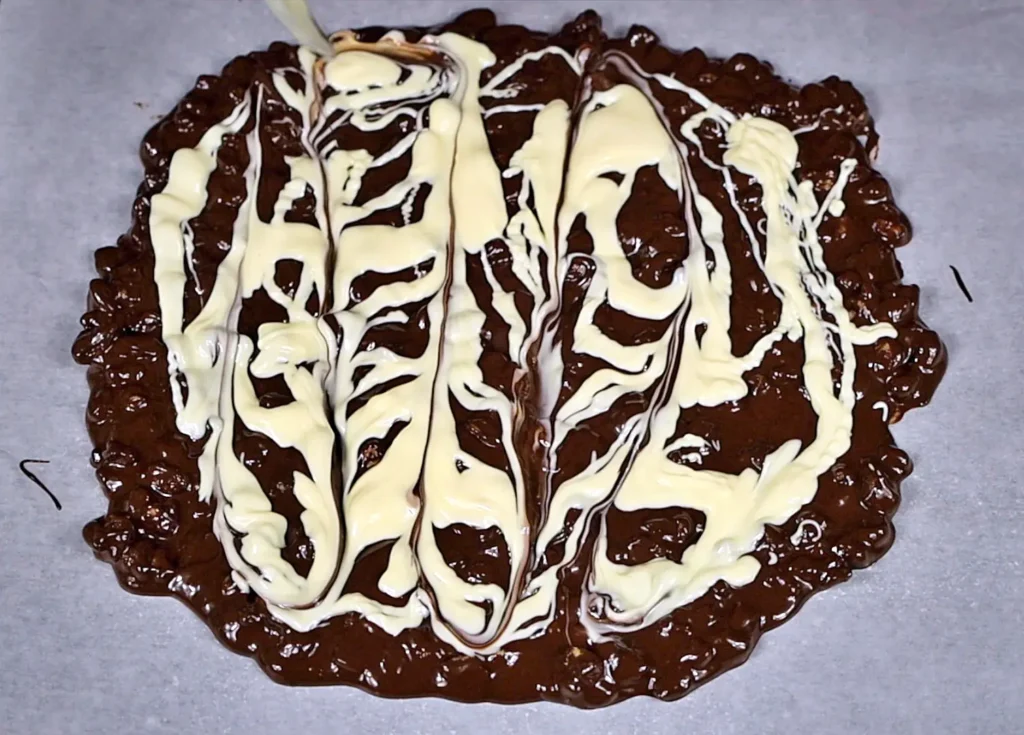
- Gently add dollops of white chocolate on top of the dark chocolate.
- Using a spoon, create a swirl pattern. To do this, gently glide the spoon on white chocolate layer without going all the way to the bottom layer. Make the design in a horizontal direction, then in the vertical direction.
Making the Rocky Road Chocolate Bark
Time to turn out chocolate bark into a rocky road bark.
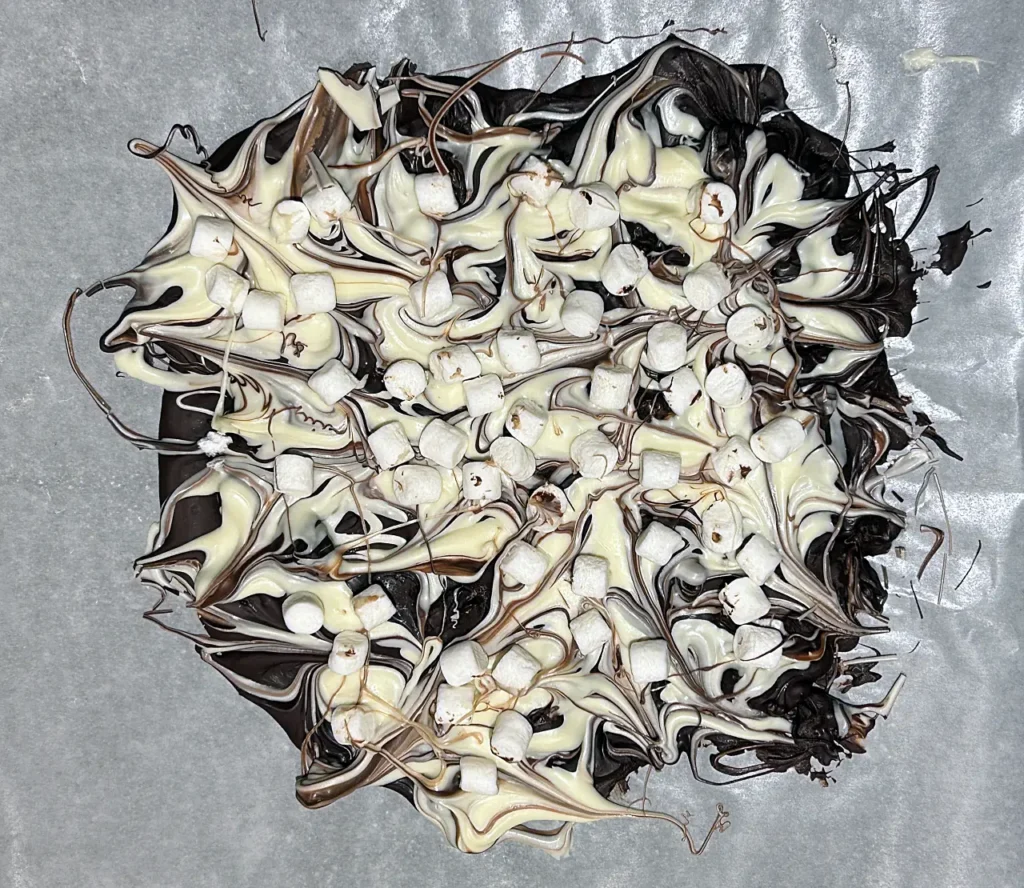
- Once the swirl is created, add 1/2 cup of mini marshmallows to the top.
- Gently press down, so they adhere to the chocolate.
- Sprinkle a pinch of flaky salt on top of the bark (optional).
- Allow the bark to sit and cool down completely for about 20 minutes.
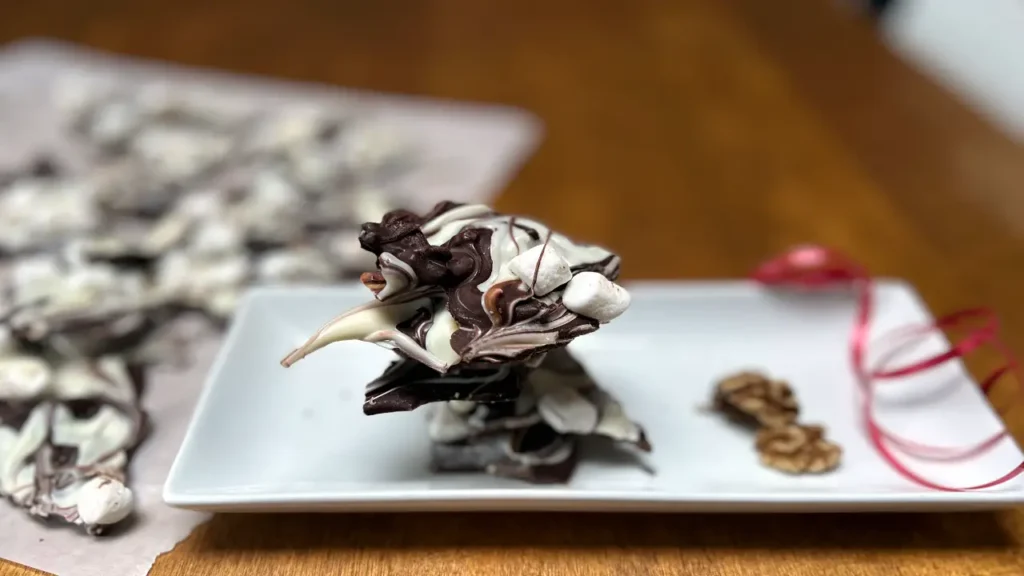
- Once cooled, break it into chunks or use a sharp knife to cut it into squares. I like the rustic look, so break them into chunks.
Variations to the Rocky Road Chocolate Bark
There are so many ways to vary this bark.
- Try making it with nuts of choice. I make it with almonds, peanuts, pecans, and even pumpkin seeds.
- You can skip the swirl patter and instead allow the dark chocolate to set for about 5 minutes then pour an equal amount of white chocolate on top and spread it to cover all of the dark chocolate. This will create a two layer bark.
- Make is vegan. Use vegan chocolate to make this bark.
- Add a pinch of cayenne pepper to the dark chocolate to give it a slight kick. I love doing this. You can only taste the pepper at the very end of each bite.
- Skip the nuts totally. Instead try adding things like candied ginger, chopped pretzel sticks, raisins, or anything else that you thing goes with chocolate.
Tried and Liked the Recipe?
Scroll to the bottom of the page, and past the recipe to find the comment form. Please fill out details of what you liked and what you would like to see improved. Comments are loved! I look forward to hearing how much you enjoyed the recipe!
Stay Connected
Don’t forget to sign up for the free newsletter and be the first to learn about all my new recipes. And, don’t forget to follow me on my social media accounts: YouTube, Facebook, Instagram, and Pinterest.
Rocky Rock Chocolate Bark
Course: DessertCuisine: CanadianDifficulty: Easy24
servings5
minutes25
minutes47
kcal30
minutesMy decadent Rocky Road Chocolate Bark recipe is loaded with marshmallows and walnuts. A perfect treat for impressing your friends and family.
Ingredients
2 ounces (1 cup) of dark chocolate
1 ounce (1/2 cup) of white chocolate
3/4 cup toasted walnuts
1/2 cup of mini marshmallows
pinch of flaky salt
parchment paper for lining
Directions
- Melt the dark chocolate in a microwave or double boiler until soft.
- Add the toasted walnut bits to the dark chocolate and mix them in.
- Melt the white chocolate in a separate bowl. Use a microwave or double boiler.
- Line a baking tray or counter with parchment paper.
- Pour the dark chocolate nut mix onto it and spread evenly.
- Pour the white chocolate randomly on top of the dark.
- Using a spoon make swirls with the white chocolate.
- Add the mini marshmallows onto the bark and push down gently so they adhere to the bark.
- Allow the bark to cool down completely and set.
- Once set, break into bits and enjoy.
A chocolate bark is a layer of dark and white chocolate that is spread thin and allowed to set. Once set, it’s broken or cut into bite size pieces and enjoyed. It’s generally called a bark, since it resembles a tree bark once it dries.
No, tempering the chocolate is not needed when making a bark. The idea is to melt the chocolate so it spreads easily. But, if you do like tempering chocolate, you can definitely do that and give it a more professional look. I like it rustic looking, so don’t temper my chocolate.
There could be a couple of reasons why your chocolate bark did not harden.
– If you over cook your chocolate, it will burn and not set properly.
– If your chocolate comes into contact with water, it will get destroyed and not set properly.
Don’t forget to follow me: YouTube, Facebook, Pinterest, and Instagram.
